Jump to Content
Kudosity
HomeGuidesAPI ReferenceChangelog
Kudosity
Guides
HomeGuidesAPI ReferenceChangelog

Basics

  • Getting Started with Kudosity in Two Minutes 🕑
    • Step 1: Create a Kudosity Account
    • Step 2: Get Your API Key and Secret
    • Step 3: Send an SMS
  • Validating Webhook Signatures from Kudosity

AI & Agents 🤖🦾

  • Overview
  • Kudosity MCP Server
  • Claude Code Plugin
  • Gemini CLI Extension
  • OpenClaw Plugin

RCS

  • Introduction to RCS
  • RCS Beta Opportunity
  • RBM Agents
  • RCS Agent Registration Process

WhatsApp

  • Introduction to WhatsApp
  • WhatsApp Verified Senders
  • WhatsApp Business API Onboarding Guide
    • Understanding WhatsApp Sender Registration
    • Verify your Meta Business Portfolio
    • Register your WhatsApp Sender
  • WhatsApp Content Types
  • WhatsApp Template Guide

Salesforce

  • Installation Guide
    • Install the Package
    • Connect Salesforce to Your Kudosity Account
    • Set Default Country and Sender ID
    • User-Level Sender ID and Country (Admin Feature)
    • Set Up Live Responses / Reporting (ECA Setup)
  • User Guide
    • Universal Messaging App
    • Recipient Contacts
    • Campaign Setup
    • Advanced Campaign Setup
    • Sent Messages
    • Schedule & Send
    • Received Messages & Link Hits
Powered by 

Schedule & Send

Schedule — set a future send date and time. Scheduled messages appear in the Sent tab.

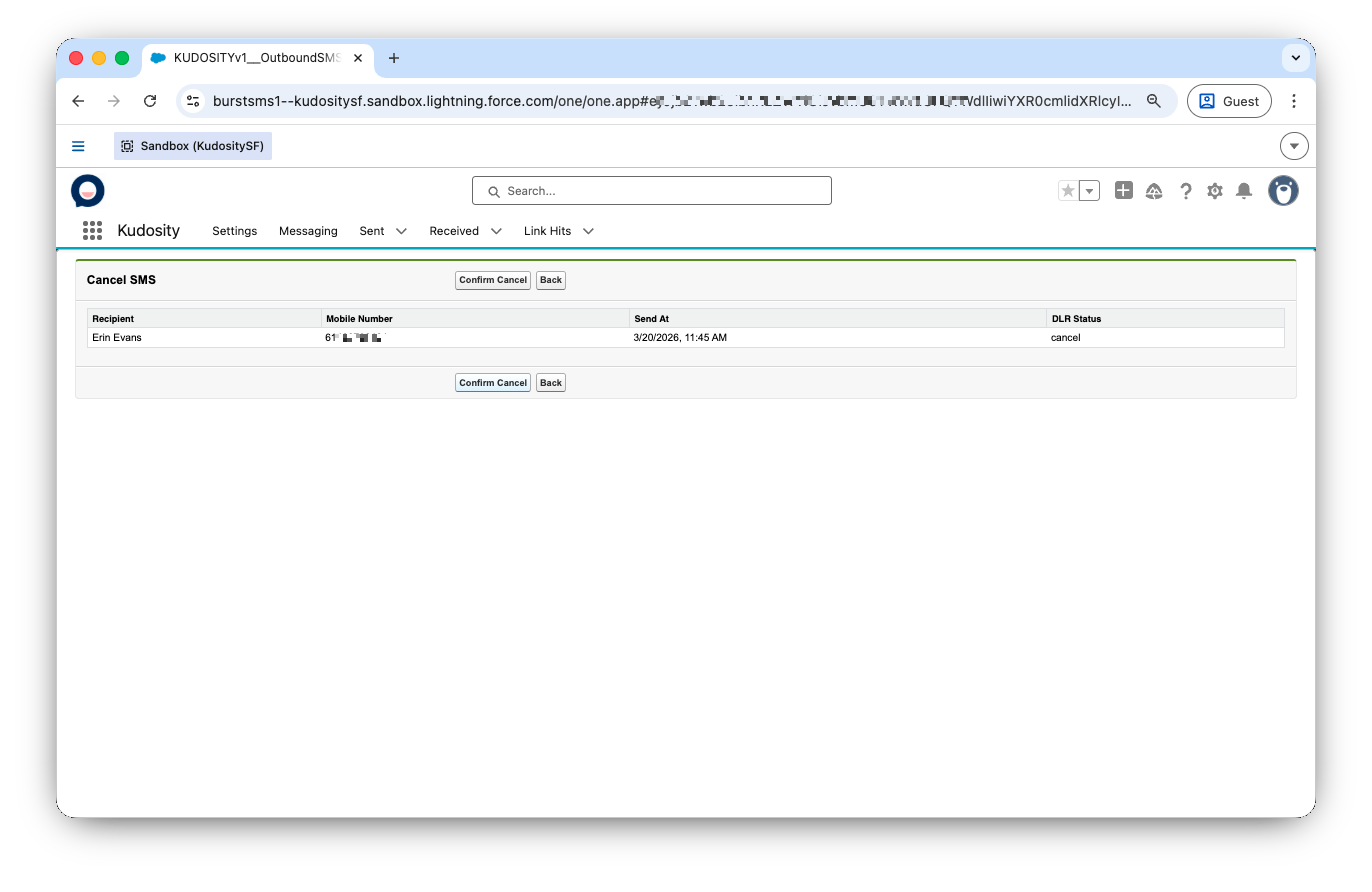
Confirmation — before sending, a confirmation dialog shows the send date/time and recipient count. Double-check and click Send.


Updated about 1 hour ago


Sent Messages
Received Messages & Link Hits